Building a blog with Notions public API
(Updated Feb 01, 2022)
Ever wanted to use Notion as a blog CMS? This guide will walk you through how to setup Notion for blogging and how to access the data using Notions public API.
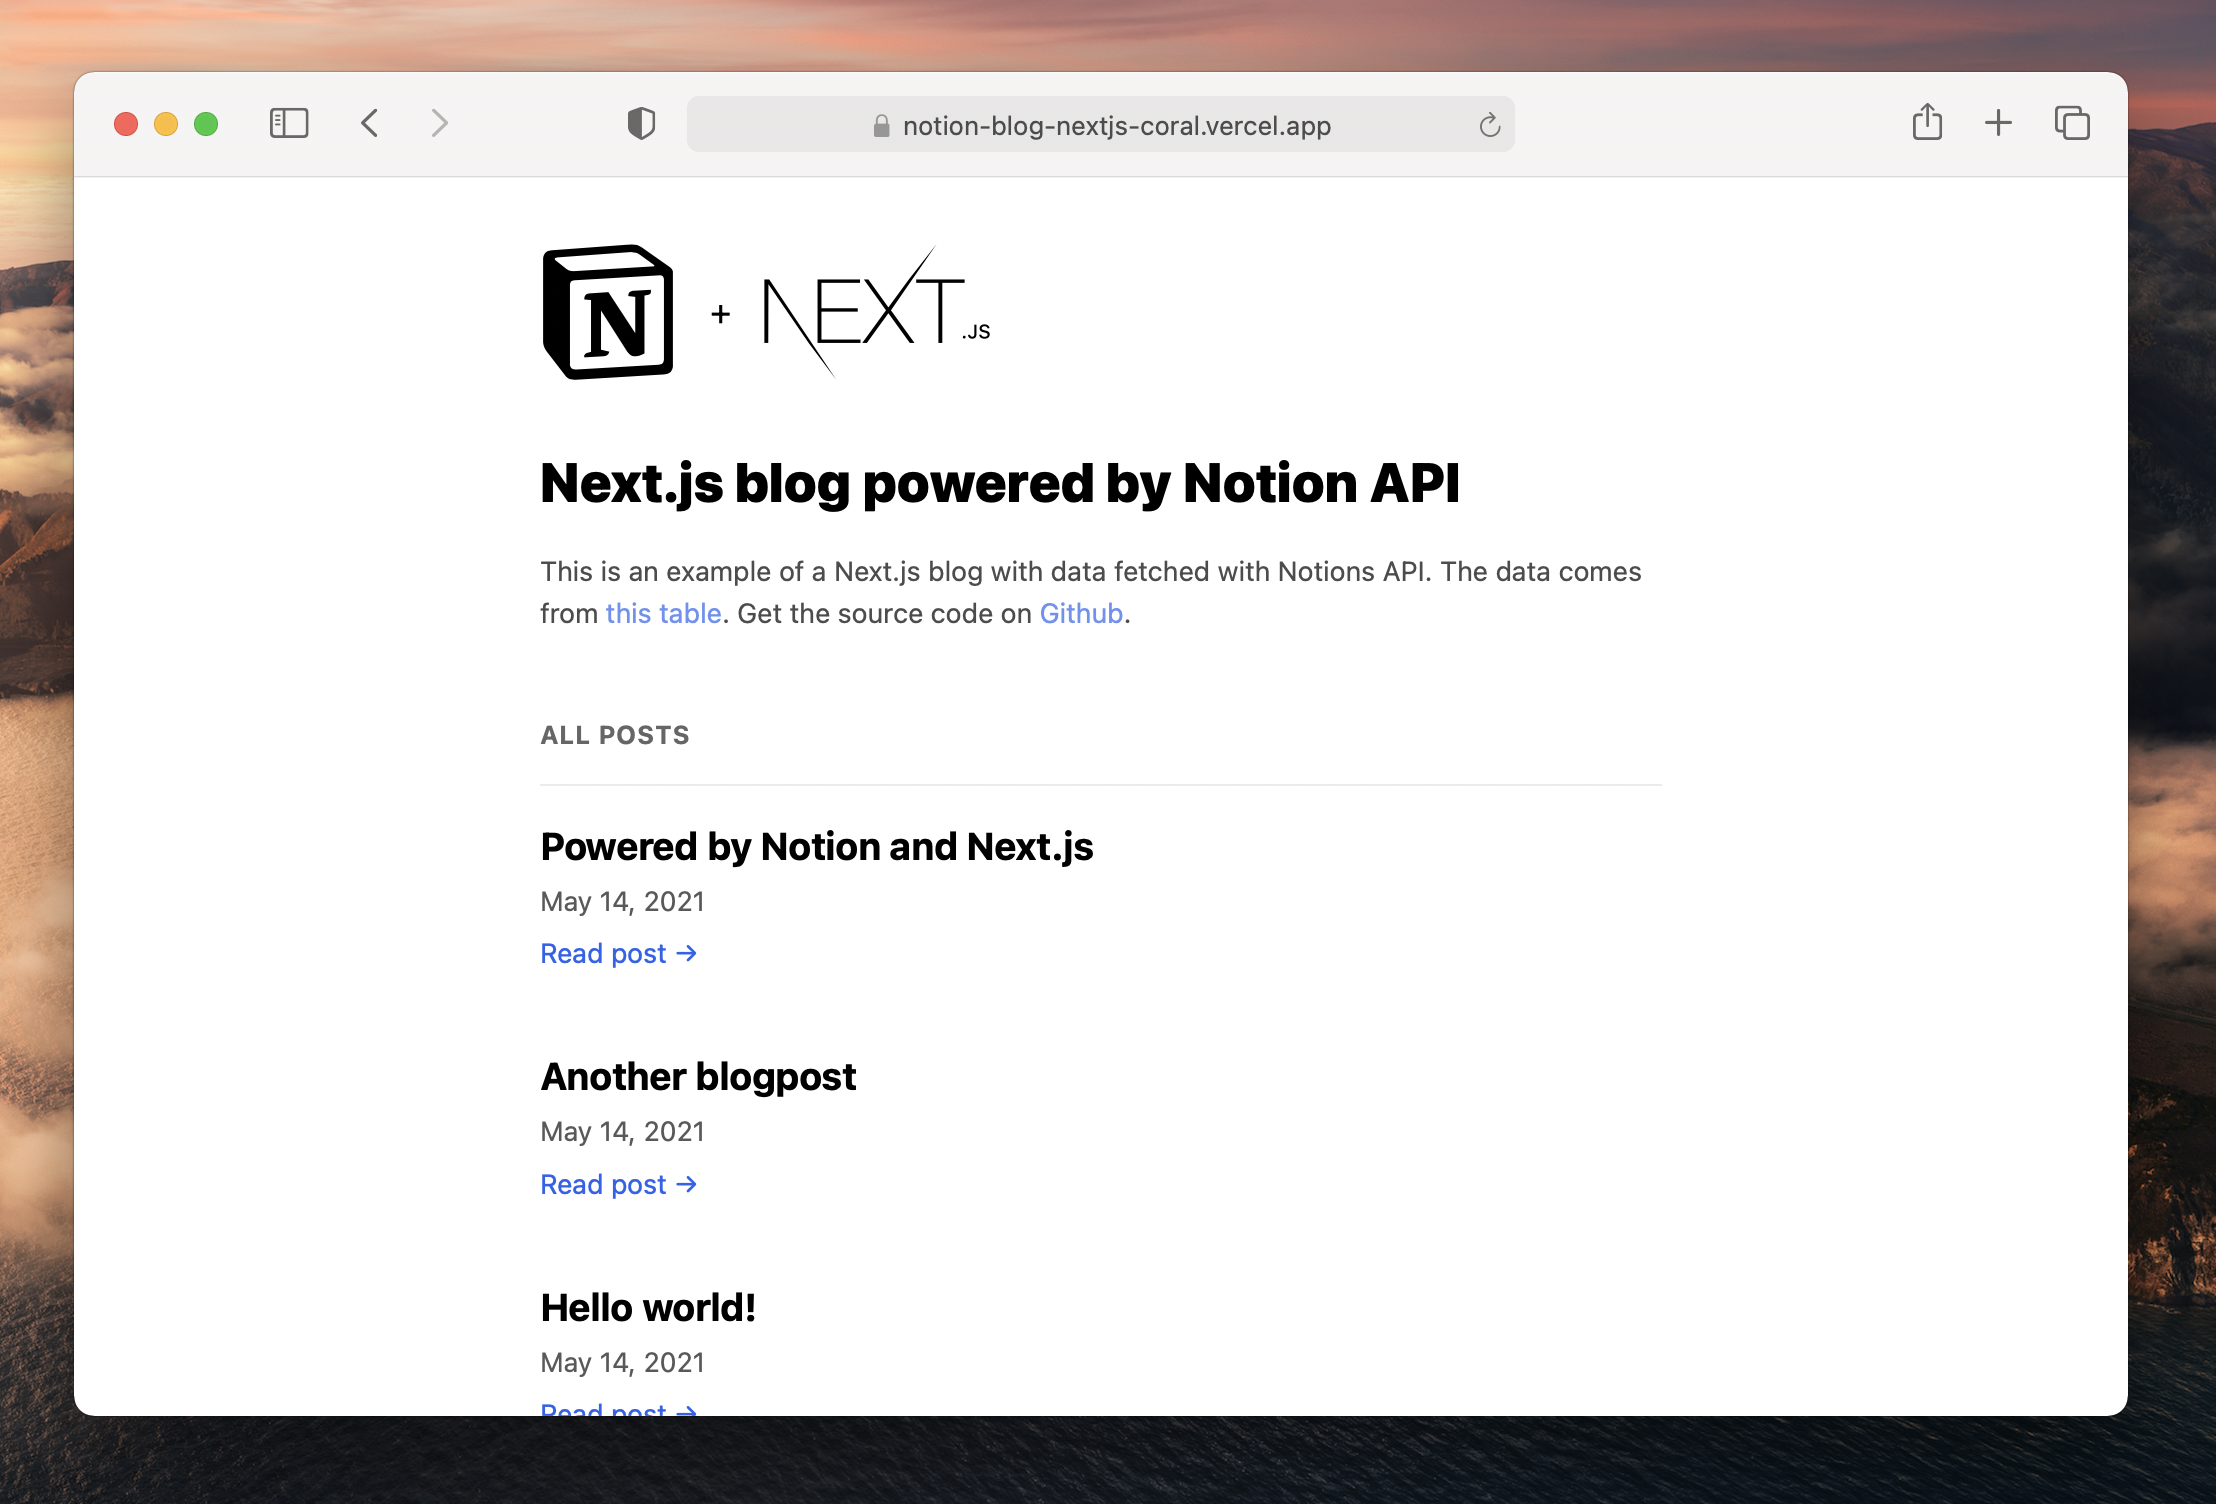
Notions public API is finally here! I put together an example repo on creating a blog using Notion as a CMS hours after the release and was blown away by the interest so here's a guide explaining how to set it up yourself using the new api & Next.js.
Getting started
If you're new to the notion API the first thing you need to do in order to start using it is to retrieve a NOTION_TOKEN by following their Getting Started guide. When following the guide create either a table or a list as the database for your content. After finishing you should have a NOTION_TOKEN as well as a database id.
Create a Next.js project by following the Next.js app setup. The neat thing about using Next.js is that you can statically render all blog posts, while still updating them with incremental static generation making your blog super snappy ⚡️.
This guide assumes you are using Next.js but you can use plain javascript or whatever framework you wish, the Notion code is the same.
Save your NOTION_TOKEN and NOTION_DATABASE_ID to a .env.local file in your projects root directory, then install their javascript client by running yarn add @notionhq/client .
Fetching data using Notions javascript client
Let's create a new file called lib/notion.js which will contain all our API usage. To fetch our data we first need to create a client and supply it with the token we received earlier
import { Client } from "@notionhq/client";

const notion = new Client({
  auth: process.env.NOTION_TOKEN,
});
Then we need to add the functions we need. To get a list of our posts we need to be able to query a specific database (getDatabase), to get the information for a specific post we need to get a specific page (getPage), and to actually get the content of the page we need get its blocks (getBlocks).
import { Client } from "@notionhq/client";

const notion = new Client({
  auth: process.env.NOTION_TOKEN,
});

export const getDatabase = async (databaseId) => {
  const response = await notion.databases.query({
    database_id: databaseId,
  });
  return response.results;
};

export const getPage = async (pageId) => {
  const response = await notion.pages.retrieve({ page_id: pageId });
  return response;
};

export const getBlocks = async (blockId) => {
  const response = await notion.blocks.children.list({
    block_id: blockId,
    page_size: 50,
  });
  return response.results;
};
Showing a list of posts
Add a function called getInitialProps to pages/index.js where you use the getDatabase function to fetch all posts. The response will contain a Database Object containing information like the database title, when it was last edited as well as its properties (in our case blogposts).
If you're new to Next.js getStaticProps allows you to pre-render the page at build time using the props returned by the function. Combining this with the revalidate prop will allow the page to get updated in the background as new traffic comes in without the need to rebuild your entire site. Learn more about Incremental Static Generation.
import Link from "next/link";
import { getDatabase } from "../lib/notion";
import { Text } from "./[id].js";

export const databaseId = process.env.NOTION_DATABASE_ID

export default function Home({ posts }) {
  return (
    <ol className={styles.posts}>
      {posts.map((post) => (
        <li key={post.id}>
          <Link href={`/${post.id}`}>
             <Text text={post.properties.Name.title} />
          </Link>
        </li>
      ))}
    </ol>
  );
}

export const getStaticProps = async () => {
  const database = await getDatabase(databaseId);

  return {
    props: {
      posts: database,
    },
		// Next.js will attempt to re-generate the page:
    // - When a request comes in
    // - At most once every second
    revalidate: 1, // In seconds
  };
};
We're using the post id as slug for sake of simplicity in this tutorial. For SEO purposes it would be better to use a prettier slug based on the title. You can do this by either manually adding a slug property to each post in Notion or generating a slug with a package like slugify.
Uhm, what is that <Text /> component you might ask? Notion has a lot of rich text tools allowing you to format text ~~like~~ this, so instead of just returning a plain text value each text-like field returns an array of Rich text objects like this:
{
  annotations: {
    bold: false,
    italic: false,
    strikethrough: false,
    underline: false,
    code: false,
    color: 'default'
  },
  href: null,
  plain_text: "Hello world!",
  text: {
    content: "Hello world!",
    link: null
  },
  type: "text"
}
In order to handle links and annotations let's create a component that we can re-use for all types of text:
import styles from './text.module.css'

export const Text = ({ text }) => {
  if (!text) {
    return null;
  }
  return text.map((value) => {
    const {
      annotations: { bold, code, color, italic, strikethrough, underline },
      text,
    } = value;
    return (
      <span
        className={[
          bold ? styles.bold : "",
          code ? styles.code : "",
          italic ? styles.italic : "",
          strikethrough ? styles.strikethrough : "",
          underline ? styles.underline : "",
        ].join(" ")}
        style={color !== "default" ? { color } : {}}
      >
        {text.link ? <a href={text.link.url}>{text.content}</a> : text.content}
      </span>
    );
  });
};
.bold {
  font-weight: bold;
}

.code {
  font-family: monospace;
  background-color: rgb(242, 242, 242);
  padding: 2px 4px;
  border-radius: 2px;
}

.italic {
  font-style: italic;
}

.strikethrough {
  text-decoration: line-through;
}

.underline {
  text-decoration: underline;
}
Showing a specific post
Let's create a pages/[id].js page that will show the content of each blog post
import { Fragment } from "react";
import { getDatabase, getPage, getBlocks } from "../lib/notion";
import { databaseId } from "./index.js";
import Text from 'components/text'

const renderBlock = (block) => {
  const { type, id } = block;
  const value = block[type];

  switch (type) {
    case "paragraph":
      return (
        <p>
          <Text text={value.text} />
        </p>
      );
    case "heading_1":
      return (
        <h1>
          <Text text={value.text} />
        </h1>
      );
    case "heading_2":
      return (
        <h2>
          <Text text={value.text} />
        </h2>
      );
    case "heading_3":
      return (
        <h3>
          <Text text={value.text} />
        </h3>
      );
    case "bulleted_list_item":
    case "numbered_list_item":
      return (
        <li>
          <Text text={value.text} />
        </li>
      );
    case "to_do":
      return (
        <div>
          <label htmlFor={id}>
            <input type="checkbox" id={id} defaultChecked={value.checked} />{" "}
            <Text text={value.text} />
          </label>
        </div>
      );
    case "toggle":
      return (
        <details>
          <summary>
            <Text text={value.text} />
          </summary>
          {value.children?.map((block) => (
            <Fragment key={block.id}>{renderBlock(block)}</Fragment>
          ))}
        </details>
      );
    case "child_page":
      return <p>{value.title}</p>;
    case "image":
      const src =
        value.type === "external" ? value.external.url : value.file.url;
      const caption = value.caption ? value.caption[0].plain_text : "";
      return (
        <figure>
          <img src={src} alt={caption} />
          {caption && <figcaption>{caption}</figcaption>}
        </figure>
      );
    default:
      return `❌ Unsupported block (${
        type === "unsupported" ? "unsupported by Notion API" : type
      })`;
  }
};

export default function Post({ page, blocks }) {
  if (!page || !blocks) {
    return <div />;
  }
  return (
    <article>
      <h1>
        <Text text={page.properties.Name.title} />
      </h1>
      <section>
        {blocks.map((block) => (
          <Fragment key={block.id}>{renderBlock(block)}</Fragment>
        ))}
      </section>
    </article>
  );
}

export const getStaticPaths = async () => {
  const database = await getDatabase(databaseId);
  return {
    paths: database.map((page) => ({ params: { id: page.id } })),
    fallback: true,
  };
};

export const getStaticProps = async (context) => {
  const { id } = context.params;
  const page = await getPage(id);
  const blocks = await getBlocks(id);

  // Retrieve block children for nested blocks (one level deep), for example toggle blocks
  // https://developers.notion.com/docs/working-with-page-content#reading-nested-blocks
  const childBlocks = await Promise.all(
    blocks
      .filter((block) => block.has_children)
      .map(async (block) => {
        return {
          id: block.id,
          children: await getBlocks(block.id),
        };
      })
  );
  const blocksWithChildren = blocks.map((block) => {
    // Add child blocks if the block should contain children but none exists
    if (block.has_children && !block[block.type].children) {
      block[block.type]["children"] = childBlocks.find(
        (x) => x.id === block.id
      )?.children;
    }
    return block;
  });

  return {
    props: {
      page,
      blocks: blocksWithChildren,
    },
    revalidate: 1,
  };
};
That's a lot, so let's break it down starting from the bottom.
Just as on the index page we are using getStaticProps to get the data so the page can be statically rendered. In order to know which post to render we'll use the context parameter which contains route parameters for the current page. With the post id we can then use our two notion functions getPage() and getBlocks() and return the results as props to our component.
For performance reasons any nested child blocks won't be returned with the original call. If you need to get a complete representation including child blocks (for example toggle blocks) then you need to run the getBlocks function for each block containing the has_children property. When you have received all the children you can then merge the original blocks array with the childblock data (blocksWithChildren).
When using dynamic routes we also need to specify a list of availables routes and we'll do that with getStaticPaths by mapping over the pages and returning the page id's.
Rendering Notion blocks
The blocks prop contains a list of all the blocks as Block Objects. We have created a renderBlock() function that will take care of displaying the different blocks.
switch (type) {
  case "paragraph":
    return (
      <p>
        <Text text={value.text} />
      </p>
    );
  case "heading_1":
    return (
      <h1>
        <Text text={value.text} />
      </h1>
    );
  case "heading_2":
		…
Open up the index page in your browser and click a post and you should see a working page displaying your content!
Notion API unsupported blocks
During the Notion API beta unfortunately not all block types are supported. The supported block types are:
paragraphheading_1heading_2heading_3bulleted_list_itemnumbered_list_itemto_dotoggle
Update 2020/08/24 - New media block types added:
child_pageimageembedvideofilepdfbookmark
If you use a block that is not supported the page will display ❌ Unsupported block. At this time there's no way of getting around this other than using their private API which is not recommended and can change at any time. If you need more blocks than those available right now I would wait a little bit longer until all block types are available.
Styling
This guide intentionally comes without any styles as you would probably just rip it out anyways. If you want inspiration I put together some very bare-bones styles in my example repo at GitHub.
That's it!
You now have a blog powered by Notion! If you add a new blogpost or edit a post then the page will automatically get updated on the second hit thanks to Next.js incremental static regeneration. Check out my live example here and let me know if you enjoyed this post by pressing ❤️ below or pinging me on twitter